
When creating a PowerPoint presentation, the visual arrangement of elements can make or break your slide’s effectiveness. Whether you’re aligning images, distributing text boxes, or layering shapes, mastering the art of how to arrange objects in Powerpoint is key to a polished, professional presentation.
Why should we arrange objects in PowerPoint?
Before we delve into the specific features, it’s crucial to understand why arranging objects properly is essential in PowerPoint. A well-organized slide not only looks professional but also enhances the clarity and effectiveness of your message. Poorly arranged slides can confuse the audience, distract from the content, and diminish the overall impact of your presentation.
Spacing and alignment in powerpoint are the foundation of good design. Properly aligned objects create a sense of order and harmony, while consistent spacing ensures that your slides are easy to read and visually appealing. PowerPoint provides several features that make arranging objects simple and efficient, allowing you to focus on the content rather than wrestling with design issues.
Distribute Feature in PowerPoint
One of the most common challenges when arranging objects on a slide is achieving even spacing. Whether you’re aligning images, shapes, or text boxes, the Distribute feature in PowerPoint can save you a lot of time and frustration.
The Distribute feature ensures that selected objects are evenly spaced either horizontally or vertically. This is particularly useful when you have multiple objects that need to be aligned in a row or column with consistent spacing between them. Without the Distribute feature, you’d have to manually adjust each object, which can be time-consuming and prone to errors.
How to Use The Distribute Feature in PowerPoint?
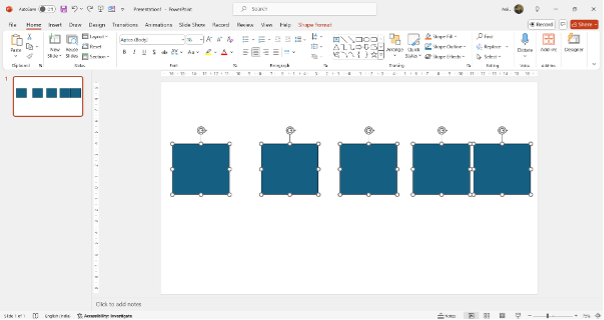
1. Select all the objects you want to distribute. You can do this by holding down the Shift key and clicking on each object, or by dragging a selection box around them.
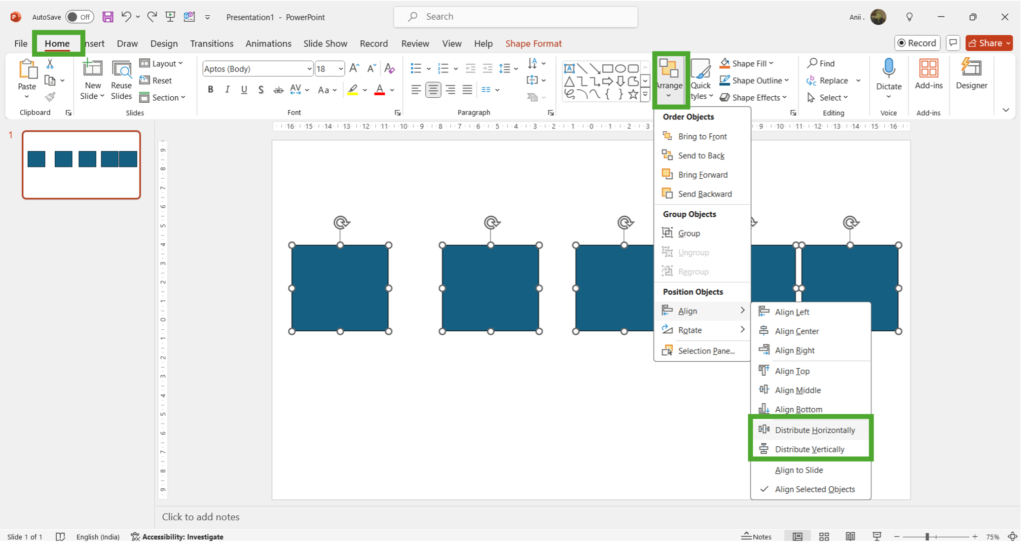
2. Go to “Home” tab, Click on “Arrange” under the “Drawing” Group.
Or
Go to “Format” Tab under and in the “Arrange” group click on “Align”
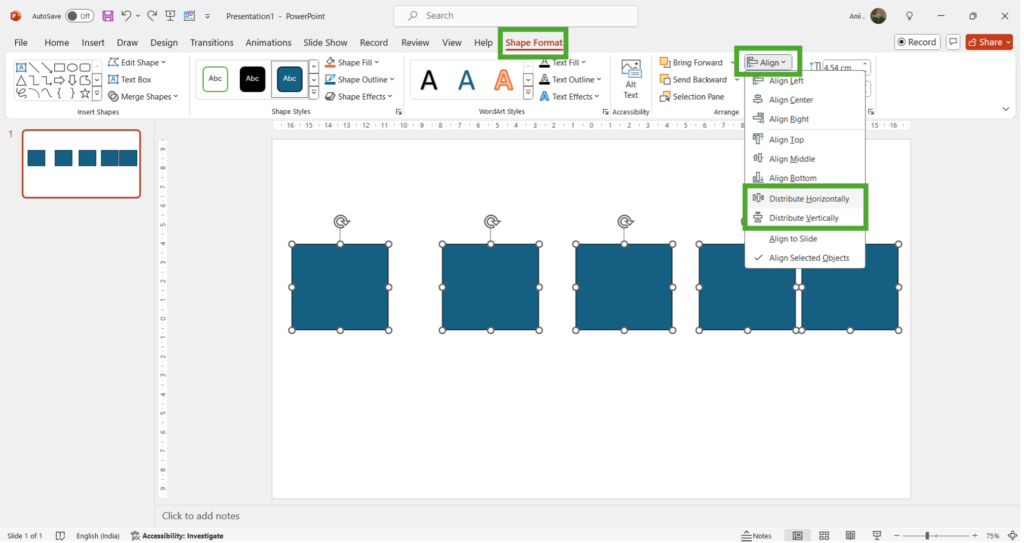
3. From the dropdown menu, choose either “Distribute Horizontally” or “Distribute Vertically,” depending on your needs.
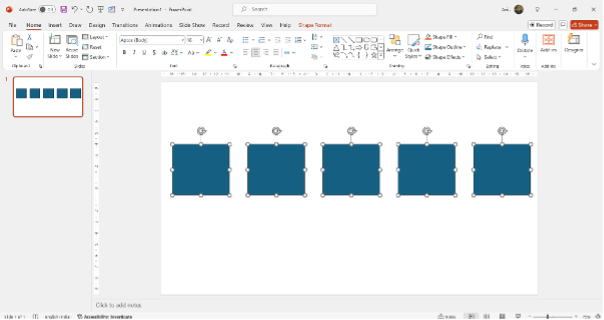
(using the “Distribute Horizontally” feature)
This small adjustment can significantly improve the balance and visual appeal of your slide. Check out the short video below to see the impact of the Distribute Features in PowerPoint
(Using the Distribute Horizontally Feature)

(Using the Distribute Vertically Feature)
**
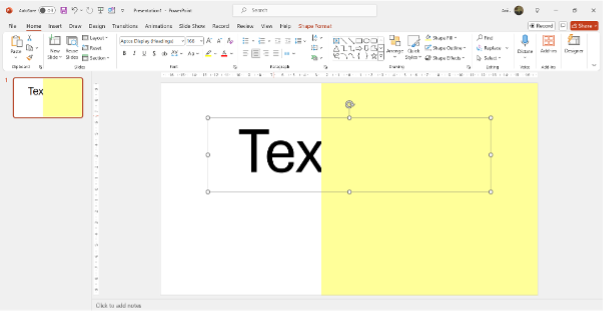
Send Forward/Backward Feature in PowerPoint:
When working with multiple overlapping objects, the order in which they appear is crucial. This is where the Send Forward/Backward feature comes into play. It allows you to control the layering of objects, determining which ones appear on top and which ones stay in the background.
The Send Forward/Backward feature lets you move selected objects up or down in the stacking order. This is particularly useful when you have text, images, and shapes overlapping, and you need to prioritize which elements should be visible.
How to Use the Send Forward/Backward feature in PowerPoint:
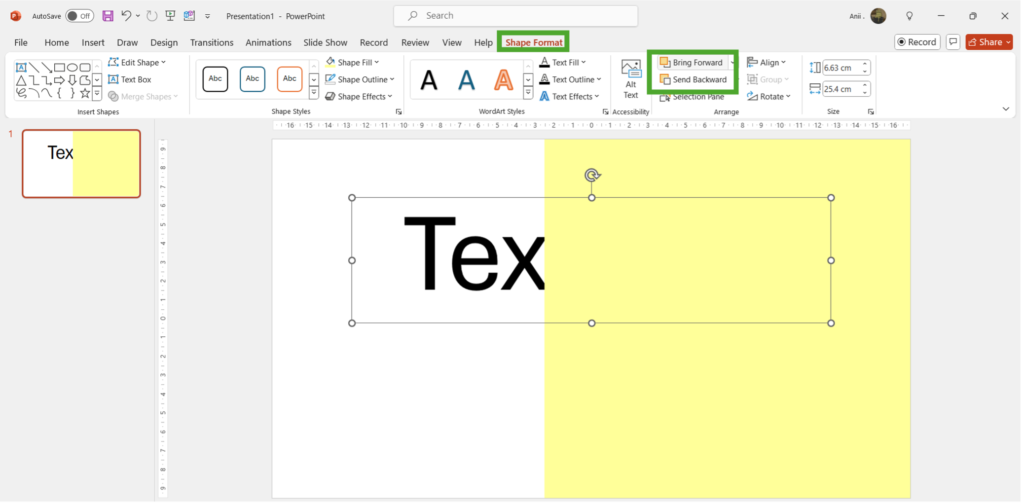
- Select the object you want to move
- In the “Format” tab under the “Arrange” group, click on either “Bring Forward” or “Send Backward.”
Or
In the Home Tab under the “Drawing” group click on “Arrange.”
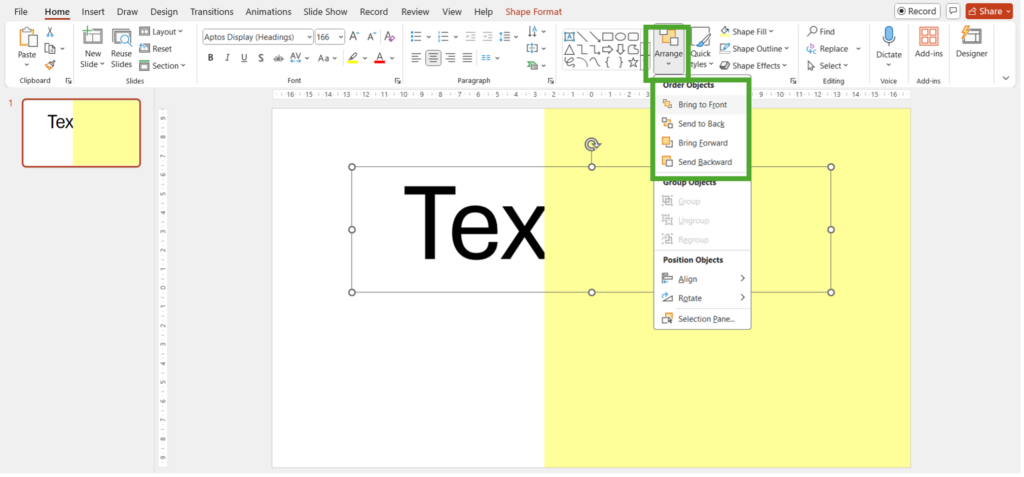
- You can also choose “Bring to Front” or “Send to Back” if you want to move the object all the way to the top or bottom of the stacking order. “Bring Forward” will shift the selected object closer to the top, making it more visible above the others. “Send Backward” it moves the selected object down one level in the stacking order.
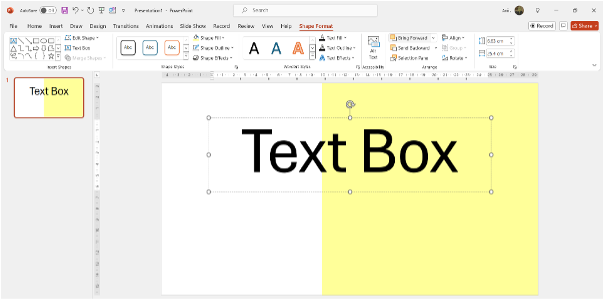
(Used “Bring Forward” option)
Check out this video below on how to use the Send Backward option as well:
(Using Send Backward Feature)
**
Group and Ungroup: Simplifying Object Management
Managing multiple objects on a slide can quickly become overwhelming, especially when they need to be moved, resized, or edited together. The Group and Ungroup features in PowerPoint provide a powerful solution by allowing you to combine multiple objects into a single unit.
The Group feature lets you group multiple objects together so that they can be moved, resized, and formatted as a single entity. This is incredibly useful when you have a complex design that needs to be treated as one object. Conversely, the Ungroup feature allows you to separate the objects back into individual components, giving you the flexibility to make changes to specific parts of the group.
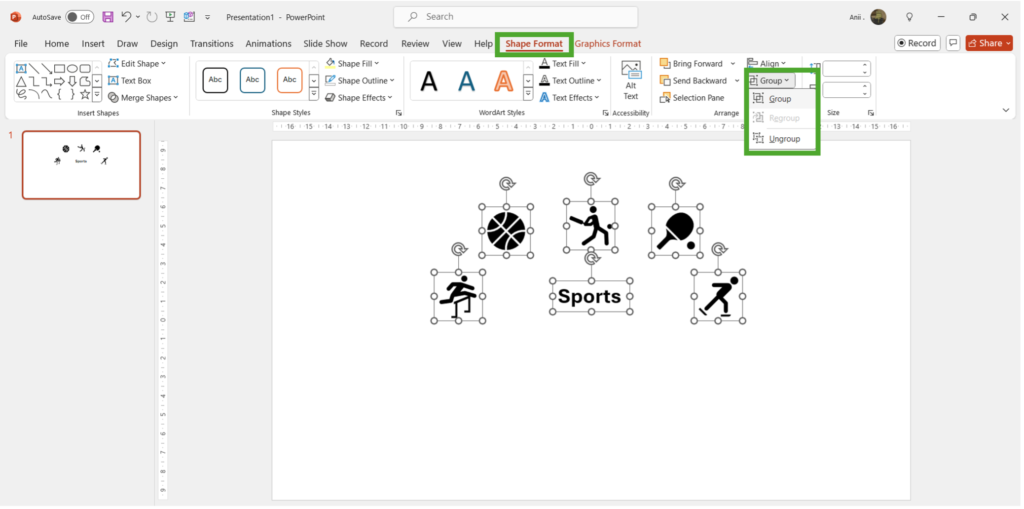
How to Use Group/Ungroup feature in PowerPoint:
- Select all the objects you want to group. You can do this by holding down the Shift key and clicking on each object, or by dragging a selection box around them.
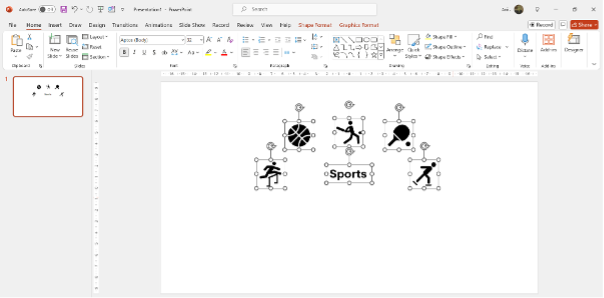
- In the “Home” Tab, go to the “Drawing” group and click on Arrange”. And choose “Group”
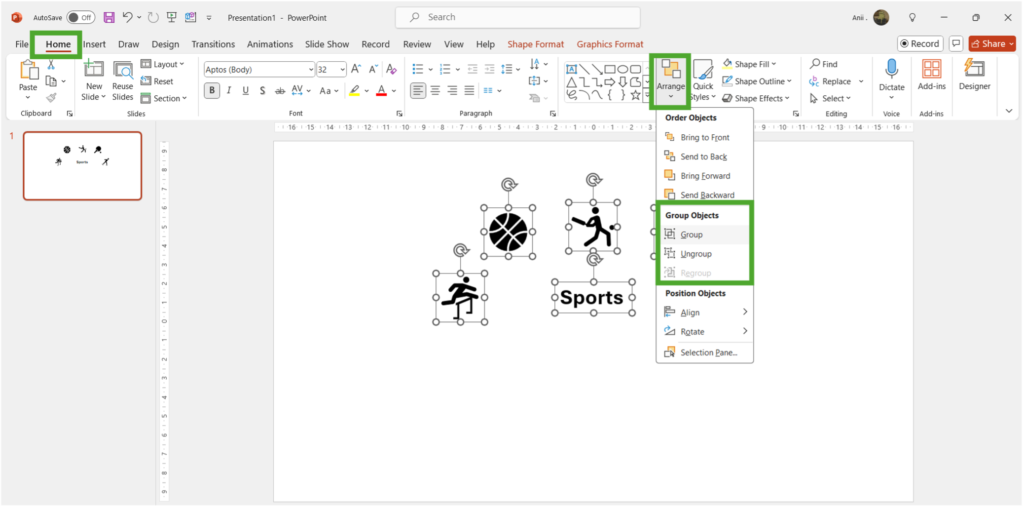
Or
In the “Arrange” group under the “Format” tab, click on “Group.”
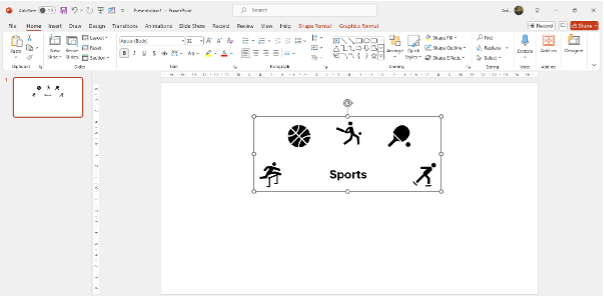
Now, To ungroup the objects, simply select the group and click “Ungroup.” Watch the video below to see how to both group/ungroup on a PowerPoint slide.
Pro Tip: You can quickly group objects by selecting them and pressing Ctrl + G. And to Ungroup press Ctrl + Shift + G

Practical Applications and Tips
Now that you’re familiar with these arranging features, let’s explore some practical applications and tips for using them effectively in your presentations.
- Use Distribute:
When designing slides with multiple images or text boxes, use the Distribute feature to maintain consistent spacing. This helps create a clean, organized look that is easy for your audience to follow. - Layer with Send Forward/Backward:
When layering objects, think about the visual hierarchy of your slide. Important elements like text should be brought to the front, while background images or decorative shapes can be sent to the back. This ensures that your key messages are always prominent and easy to read. - Group Complex Designs:
For slides with intricate designs, grouping objects can simplify the process of moving, resizing, or formatting. This is particularly useful when working with diagrams, flowcharts, or multi-part graphics. Remember to ungroup when you need to make detailed adjustments to individual components. - Avoid Overlapping Objects Without Purpose:
While layering can add depth to your slides, avoid unnecessary overlaps that can clutter your design. Use the Send Forward/Backward feature to create intentional layers that enhance your slide, rather than distract from it. - Experiment with Grouping for Animations:
Grouping objects can also be useful when adding animations in PowerPoint. By grouping multiple elements together, you can apply a single animation effect to the entire group, creating more cohesive and impactful animations.
Conclusion
These tools not only save you time but also allow you to craft more professional and polished presentations. Whether you’re aligning text boxes, layering images, or managing complex designs, these features provide the flexibility and control you need to bring your presentation vision to life.

